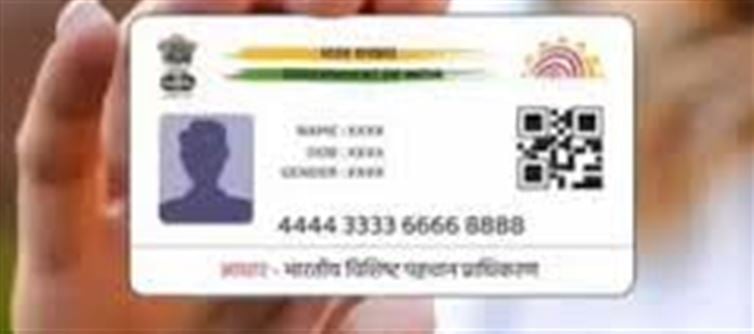
Moving to a new city or neighborhood is always a mix of excitement and chaos. Amidst packing boxes and changing utilities, one critical task that often gets overlooked is updating your Aadhaar card address. This is important because your Aadhaar card is linked to various essential services, including banks, mobile numbers, government schemes, and e-commerce accounts. Having the wrong address on your Aadhaar card can lead to delays or complications in availing these services.
If you’ve recently shifted to a new location, here’s a step-by-step guide to updating your address on your Aadhaar card online.
Step 1: Visit the uidai Portal
The Unique Identification Authority of india (UIDAI) is the official authority for Aadhaar-related services. To start the address update process, go to the uidai official website: https://uidai.gov.in.
Step 2: Login to the Aadhaar Self-Service Portal
Once on the uidai website:
1. Click on the “Update Your Address Online” option.
2. You will be redirected to the Aadhaar Self-Service Update Portal (SSUP).
3. Enter your 12-digit Aadhaar number and the captcha code displayed on the screen.
4. Click Send OTP. You will receive a one-time password on your registered mobile number.
⚠️ Note: You must have your mobile number linked to your Aadhaar to receive the OTP. If your number is not registered, you will need to update it first by visiting an Aadhaar Enrollment Center.
Step 3: Submit Your Address Update Request
1. After logging in with OTP, select the “Address” field for updating.
2. Enter your new address details carefully, including house number, street, locality, city, and PIN code.
3. Upload a valid address proof document. uidai accepts several documents for address verification, such as:
o Passport
o bank Statement/Passbook
o Voter ID
o Utility Bills (Electricity, Water, Gas Connection)
o Rental Agreement
4. review the details thoroughly to avoid errors.
Step 4: Submit and Note Your Update Request Number (URN)
After submitting the request, you will receive a URN (Update Request Number). This is your reference to track the status of your address update.
You can check the status online by visiting the uidai portal and entering your URN. The update process usually takes 7–14 days, after which your Aadhaar card will reflect the new address.
Step 5: Download the Updated Aadhaar (Optional)
Once your address update is approved, you can download an electronic Aadhaar (e-Aadhaar) with the updated details from the uidai website. The e-Aadhaar is legally valid and can be printed as your official Aadhaar card.
Tips to Keep in Mind
· Make sure your mobile number is linked to Aadhaar before initiating the update.
· Double-check your address and uploaded documents to avoid rejection.
· If you recently moved, consider updating your bank and other service addresses simultaneously to avoid future complications.
· Physical Aadhaar cards are not immediately reissued; downloading the e-Aadhaar is faster.
Updating your Aadhaar address online is convenient and secure. It saves time, eliminates the need to visit an enrollment center, and ensures that all your official documents and services remain consistent with your new residence.
Disclaimer:
The views and opinions expressed in this article are those of the author and do not necessarily reflect the official policy or position of any agency, organization, employer, or company. All information provided is for general informational purposes only. While every effort has been made to ensure accuracy, we make no representations or warranties of any kind, express or implied, about the completeness, reliability, or suitability of the information contained herein. Readers are advised to verify facts and seek professional advice where necessary. Any reliance placed on such information is strictly at the reader’s own risk..jpg)


 click and follow Indiaherald WhatsApp channel