


Screen recording is a built‑in feature on iOS devices that allows users to capture everything happening on their iphone screen. It’s ideal for:
- Creating tutorials or how‑to videos
- Recording gameplays or app usage
- Saving video calls or live streams for personal reference
By default, iphone can record with or without audio. Including audio makes your recordings more informative and complete.
🔧 Step 1: Enable Screen Recording in Control Center
Before you start, ensure the Screen Recording button is in your Control Center:
Open Settings → tap Control Center.
Scroll down to More Controls.
Find Screen Recording and tap the green plus (+) icon.
✅ Now, the Screen Recording icon will appear in your Control Center.
🔊 Step 2: Turn On Microphone Audio
To record audio along with your screen:
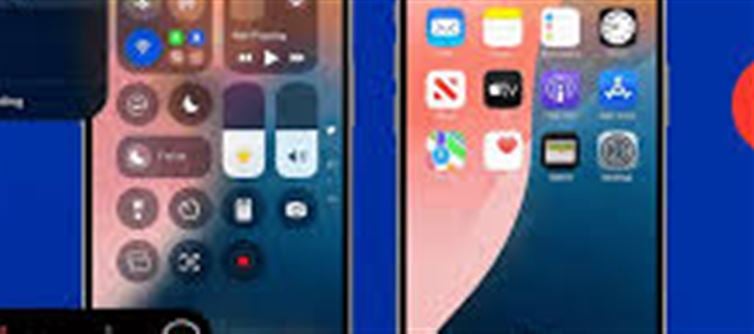
Swipe down from the top-right corner (iPhone X or later) or up from the bottom (iPhone 8 or earlier) to open Control Center.
Press and hold the Screen Recording button (a circle inside another circle).
Tap the Microphone Audio icon to turn it ON. It will turn red when active.
💡 Tip: This records external sounds from your surroundings. If you want internal app audio, some apps automatically capture it, while others may require speaker playback to be recorded via the microphone.
▶️ Step 3: Start Recording
Tap Start Recording from the pop-up menu in Control Center.
Wait for the 3-second countdown — this allows you to close the Control Center and prepare your screen.
Your iphone will now record everything happening on the screen, along with the audio you enabled.
⏹️ Step 4: Stop Recording
When you’re finished:
- Tap the red recording indicator in the top-left corner of the screen, then confirm Stop.
- Or, swipe to Control Center and tap the Screen Recording button again.
Your recording will automatically save to the Photos app under Recents.
🎬 Step 5: Edit Your Screen Recording
iPhone allows basic editing without extra apps:
Open the Photos app → locate your recording.
Tap Edit.
You can trim the video, adjust volume, or rotate.
This is perfect for cutting out unnecessary parts or focusing on key moments.
💡 Tips for Better Screen Recordings
- Enable Do Not Disturb: Prevent notifications from popping up during recording.
- Use landscape mode: For games or videos, landscape gives a wider view.
- Check storage: Screen recordings can be large, especially with audio. Make sure your iphone has enough free space.
- Test microphone levels: Speak clearly if recording external audio.
📌 Common Issues and Fixes
Issue
Solution
Recording doesn’t capture audio
Make sure Microphone audio is ON and volume is up
Control Center doesn’t show screen recording
Enable it via Settings → Control Center → Add Screen Recording
Video is cut off
Ensure enough storage and close unused apps
✅ Final Thoughts
With these steps, you can easily screen record on iphone with audio, whether for tutorials, gaming, or capturing app activity. Using the built-in Control Center tools, it’s fast, easy, and doesn’t require extra software.
Disclaimer:
The views and opinions expressed in this article are those of the author and do not necessarily reflect the official policy or position of any agency, organization, employer, or company. All information provided is for general informational purposes only. While every effort has been made to ensure accuracy, we make no representations or warranties of any kind, express or implied, about the completeness, reliability, or suitability of the information contained herein. Readers are advised to verify facts and seek professional advice where necessary. Any reliance placed on such information is strictly at the reader’s own risk.
 click and follow Indiaherald WhatsApp channel